Tooke Paint Inspection Gauge
Price 50 INR/ Unit
Tooke Paint Inspection Gauge Specification
- Humidity %
- Ambient
- Measurement Range
- 20500 m (Standard Tip); Extended range available with accessory tips
- Capacity
- Single Specimen
- Temperature Range
- Ambient
- Equipment Type
- Paint Inspection Gauge
- Resolution
- 1 micron (m)
- Sensor Type
- Optical
- Material
- Anodized Aluminum Body
- Power Supply
- Manual (Non-Electrical)
- Accuracy
- 2% of reading
- Display Type
- Graduated Microscope Scale
- Range
- 20 to 500 microns (with standard cutting tips)
- Standards Compliance
- ASTM D4138, ISO 2808
- Dimensions
- Approx. 140 mm (L) x 35 mm ()
- Microscope Magnification
- 50x (standard); optional up to 100x or more
- Operating Method
- User applies tool directly to coating and inspects cut via eyepiece
- Weight
- Approx. 300g
- Cutting Tip Sizes Available
- Three sizes: 1x, 2x, and 10x
- Cutting Tip Material
- Hardened steel
- Readout Units
- Micrometer scale (m)
- Application
- Measurement of coating, paint, and dry-film thickness
- Case/Storage
- Supplied in protective carrying case
Tooke Paint Inspection Gauge Trade Information
- Minimum Order Quantity
- 1 Unit
- Supply Ability
- 500 Units Per Day
- Delivery Time
- 1 Week
- Main Export Market(s)
- Australia, South America, Eastern Europe, Western Europe, Middle East, Central America, Asia, North America, Africa
- Main Domestic Market
- All India
About Tooke Paint Inspection Gauge
Tooke Paint Inspection Gauge
Caltech india offers Tooke Paint Inspection Gauge (Plastic) is a precision tool for inspection and thickness measurement (in accordance with ASTM D4138) of single or multiple coats on any substrate, and for microscopic observation and measurement of substrate and film defects. The Tooke Gauge uses an illuminated 50-power microscope equipped with a universal scope with a measuring reticle that accommodates measurement in mils, microns, and millimeters. (Note: Each universal microscope is validated before sale against a certified gage block traceable to the National Institute of Standards & Technology (NIST).) This gauge mounts tungsten carbide cutting tips for precise incision of the work surface. Standard cutting tips are 1, 2, and 10. An optional 5 tip is available. Also, a gauge can be ordered with three tips of the same size, or with a single precision-ground tip and two blanks.
Precision Coating Thickness Measurement
Achieve highly accurate readings of paint, coating, or dry-film thickness with the Tooke Paint Inspection Gauge. Using optical microscopy and a graduated scale, the gauge delivers micrometer-level resolution suitable for quality assurance, research, and industrial applications.
Versatile and Durable Construction
Built with an anodized aluminum body and hardened steel cutting tips in three sizes, this gauge accommodates a broad range of inspection needs. Its manual, non-electrical operation ensures reliability in various environments, while the compact design enhances portability.
Designed for Compliance and User Safety
The gauge meets international standards including ASTM D4138 and ISO 2808, ensuring reliable and recognized results. Each set comes in a protective carrying case, safeguarding your equipment during transport and storage.
FAQs of Tooke Paint Inspection Gauge:
Q: How do I operate the Tooke Paint Inspection Gauge for measuring coating thickness?
A: To use the Tooke Paint Inspection Gauge, apply it directly to the coated surface and use one of the supplied hardened steel cutting tips to make a cut. Look through the built-in eyepiece with 50x (or optional higher) magnification and read the coating thickness on the graduated microscope scale in micrometers.Q: What types of coatings or paints can be measured with this gauge?
A: The Tooke Gauge is designed to measure a wide variety of coatings, paints, and dry films on both metallic and non-metallic substrates. It is suitable for quality control in industries, research laboratories, and field inspections.Q: When should I use different cutting tip sizes?
A: Select different cutting tip sizes (1x, 2x, and 10x) based on the expected coating thickness and material type. Thicker films or harder substrates may require larger or more robust tips for accurate measurement and profile clarity.Q: Where is this gauge best utilized?
A: This instrument is ideal for use in manufacturing facilities, research labs, quality control departments, and on-site inspection across industries in India. Its portability allows for convenient use wherever coating thickness validation is required.Q: What are the benefits of using a microscope magnification in the Tooke Gauge?
A: Microscope magnification (standard 50x, optional up to 100x or more) enhances the precision and clarity of the cut profile, allowing users to make highly accurate thickness measurements and detect multiple layer applications or imperfections.Q: Can the gauge measure extremely thin or thick coatings?
A: The standard Tooke Gauge measures films in the 20500 m range. For coatings outside this range, various accessory tips are available, extending the instruments capacity to thicker or thinner films as needed.Q: Is manual power operation an advantage with this gauge?
A: Yes. Since the Tooke Gauge is manually operated and does not require electrical power, it is highly reliable for field use, maintenance inspections, and environments where electricity may not be available.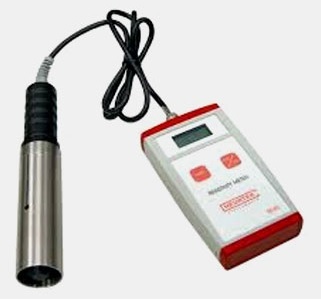

Price:
- 50
- 100
- 200
- 250
- 500
- 1000+
More Products in Dry Film Thickness Category
Ferrite Meter
Price 50 INR / Unit
Minimum Order Quantity : 1 Unit
Accuracy : 1% of measured value
Material : ABS, Electronic Components
Application Media : Stainless Steel Welds & Components
Display Type : Other, Digital LCD Display
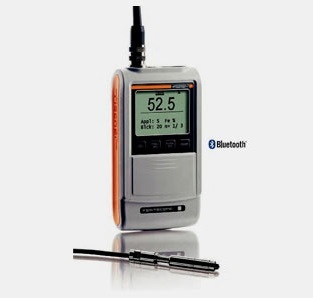
Plating Thickness Meter
Price 50 INR / Unit
Minimum Order Quantity : 1 Unit
Accuracy : 1% of reading
Material : Stainless Steel
Application Media : Ferrous and NonFerrous Metals
Display Type : Other, Digital LED Display
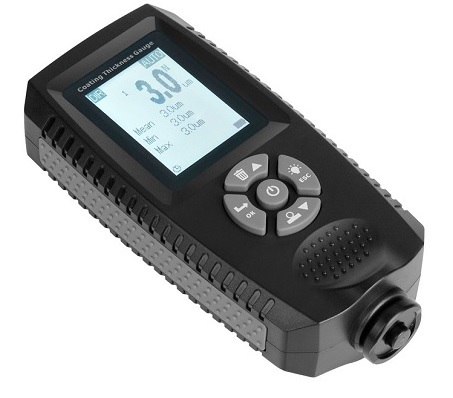
Coating Thickness Gauge Ferrous & Non Ferrous
Price 50 INR / Unit
Minimum Order Quantity : 1 Unit
Accuracy : 2% of reading
Material : ABS Plastic
Application Media : Ferrous & NonFerrous Surfaces
Display Type : Other, Digital LCD Display
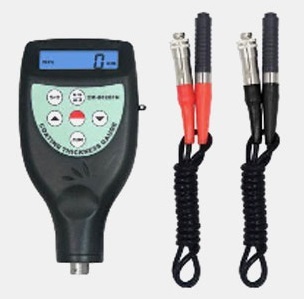
Paint Film Thickness Meter
Price 50 INR / Unit
Minimum Order Quantity : 1 , , Unit
Accuracy : 2% + 1 digit
Material : ABS plastic body
Application Media : Ferrous and nonferrous metal surfaces
Display Type : Other, LCD digital display

 Send Inquiry


 Send Inquiry
 Send SMS